Pokemon Pokopia Electricity Guide: How to Power Your Island
I’ll be honest with you. Electricity in Pokemon Pokopia threw me off for a while. You show up to Bleak Beach, the game hands you a vague tutorial about power poles, and then kind of expects you to figure out the rest on your own. If you’ve been staring at a dark streetlamp wondering what you’re doing wrong, I wrote this for you.
This guide covers every part of the electricity system. I’m talking generators, power units, utility poles, which Pokemon can zap things for you, and the endgame wireless transmitter setup that makes everything cleaner. Let’s get into it.
TL;DR
- Electricity unlocks in Bleak Beach during the “Brighten Things Up” questline.
- Have a Pokemon with Generate Ability follow you to a device for quick, temporary power
- Build generators for permanent power: Windmills (10-20 units), Waterwheels (20 units), Furnaces (30 units)
- Utility Poles connect generators to devices. They don’t use any power themselves
- Late game: Wireless Power Transmitters unlock via Porygon in Sparkling Skylands
When Does Electricity Unlock?
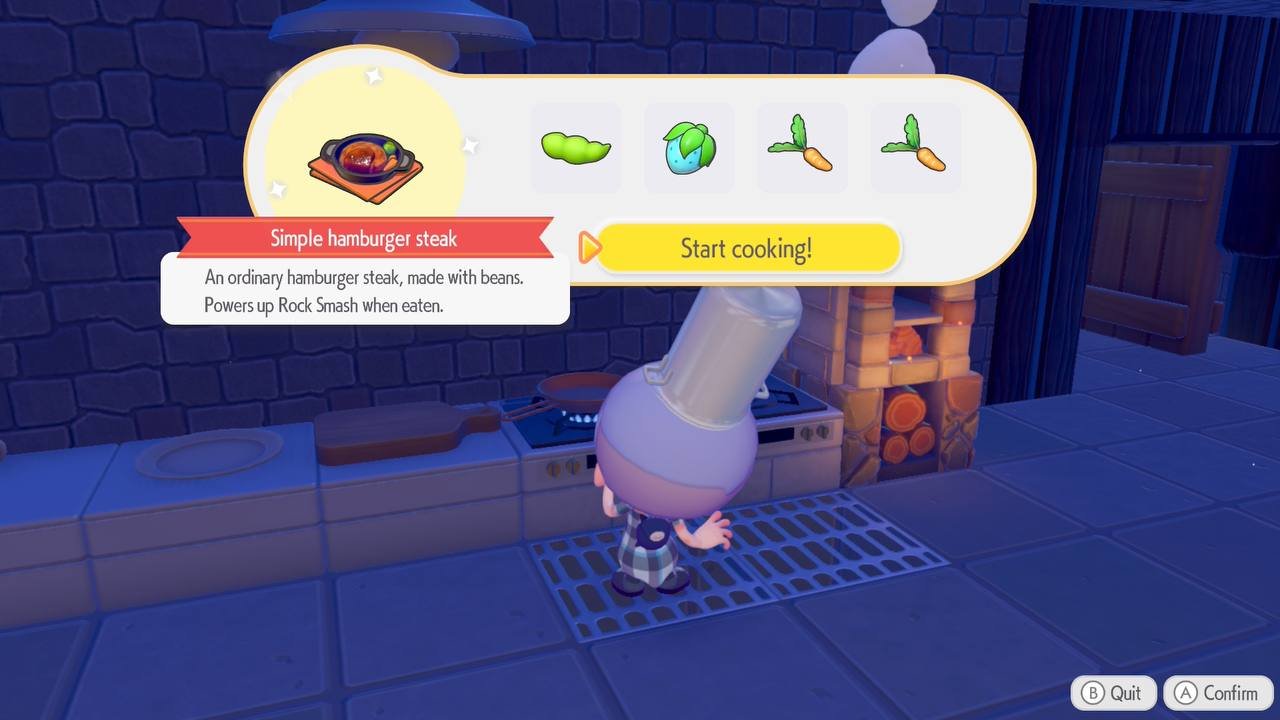
You won’t touch electricity until you reach Bleak Beach. The game locks it behind story progression, so you’ll need to complete Withered Wasteland first. After that, you can choose between Bleak Beach and Rocky Ridges as your next area. It doesn’t matter which one you pick first, but here’s something worth knowing: Bleak Beach gives you electricity, while Rocky Ridges gives you cooking. Both are useful. Pick based on what you want to do next.
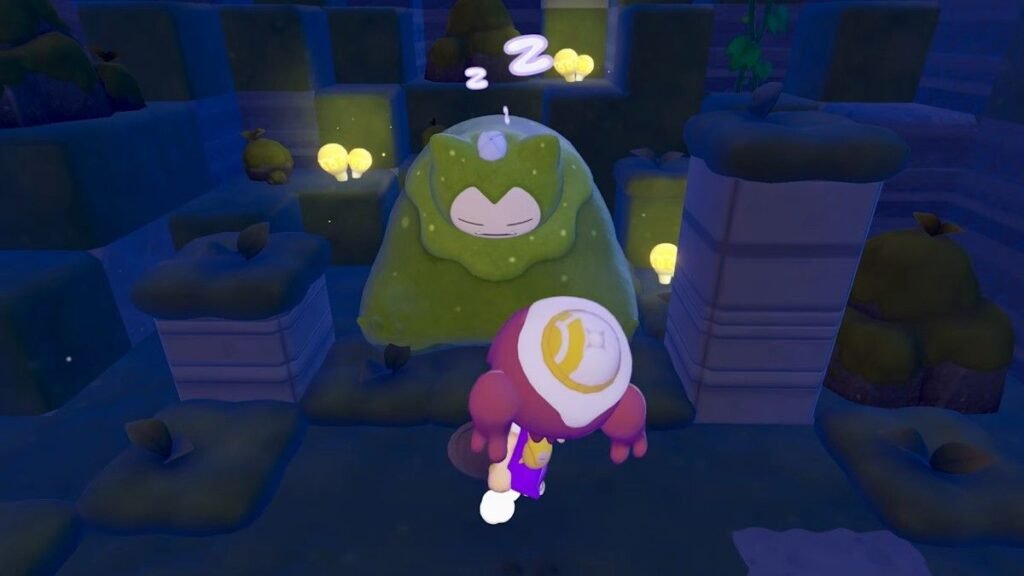
Once you’re at Bleak Beach, the “Brighten Things Up” questline kicks off. Peakychu and Professor Tangrowth walk you through the basics. You’ll learn how Pokemon with Generate Ability work, get introduced to windmills and waterwheels, and start connecting things with utility poles. The quest eventually asks you to reach 100 brightness points to wake up Mosslax, so you’ll be building a real power grid before the area’s story wraps up.
Using Electric Pokemon for Temporary Power
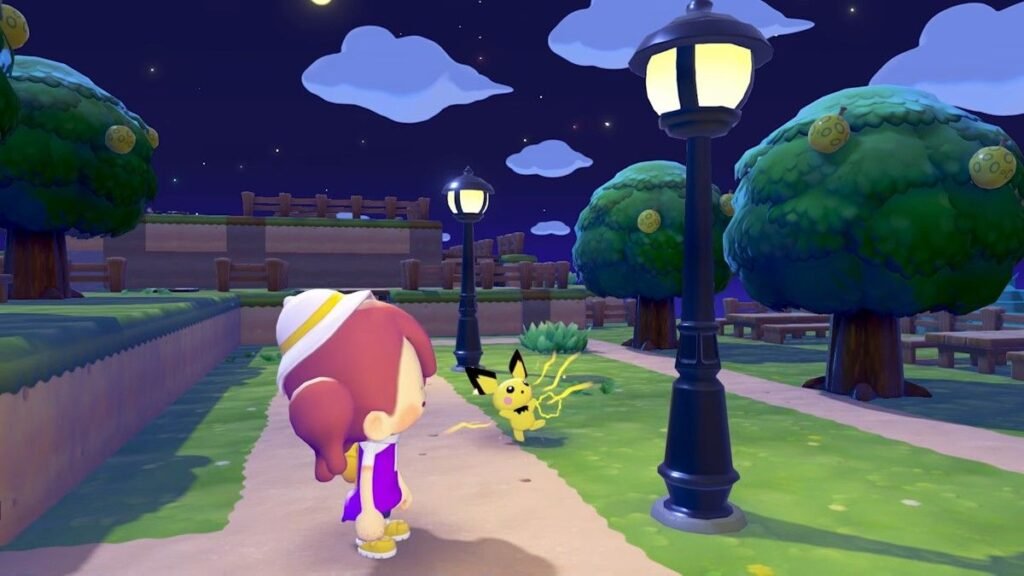
Before you start building generators, the game gives you a simpler option. Any Pokemon with the Generate abilities can temporarily power a device. Just have it follow you, walk up to the item with the lightning icon, and the Pokemon handles the rest.
Here’s the thing though. It’s temporary. Leave the area or wait long enough, and the device shuts off. So think of this as your early-game solution or a quick way to test if something’s working. For anything permanent, you’ll want generators.
All 28 Generate Pokemon and Their Habitats
There are 28 Pokemon in Pokopia that have the Generate ability. If you want one in every area (and I’d recommend that), here’s the full list with the habitat you need to build to attract each one.
Early and Common Options (easiest to get first):
| Pokemon | Habitat(s) | Rarity |
|---|---|---|
| Pichu | Picnic Set | Common |
| Pikachu | Picnic Set | Common |
| Raichu | Nature’s Market | Common |
| Pawmi | Breezy Flower Bed, Tantalizing Restaurant | Common |
| Pawmo | Tantalizing Restaurant, Cafe Space | Common |
| Pawmot | Cafe Space | Common |
| Mareep | Overgrowth Vending Machine, Knitting Station | Common |
| Flaaffy | Night Festival Venue, Knitting Station | Common |
| Voltorb | Park Bench, Playing Pirate | Common |
| Electrode | Park Bench, Playing Pirate | Common |
| Elekid | Vending Machine Set | Common |
| Electabuzz | Trash Can Central, Light-Up Stage | Common |
| Toxel | Lazy-Photo Album Scrolling | Common |
| Amped Toxtricity | Amped Rock Stage | Common |
| Wattrel | Elevated Pink Tall Grass | Common |
Mid to Late Game Options:
| Pokemon | Habitat(s) | Rarity |
|---|---|---|
| Magneton | Trash Can Central, Mini Game Corner | Common |
| Magnezone | Trash Can Central, Mini Game Corner | Common |
| Electivire | Light-Up Stage, Vending Machine Set | Rare |
| Ampharos | Plain Life | Rare |
| Charjabug | Vending Machine Break Area | Rare |
| Vikavolt | Tree-Shaded Flower Bed | Rare |
| Low Key Toxtricity | Low Key Rock Stage | Rare |
| Plusle | Picturesque Photo Cutout Board | Rare |
| Minun | Picturesque Photo Cutout Board | Rare |
| Kilowattrel | Elevated Pink Tall Grass | Rare |
| Jolteon | Electrifying Potatoes (Palette Town) | Common |
| Raikou | Ocean Dream Island (via Pikachu Doll) | Legendary |
| Pokemon | Habitat(s) | Rarity |
|---|---|---|
| Magnemite | Factory Storage | Common |
Yeah, Magnemite is locked behind beating the main story. You’ll find it underneath where the mysterious tower used to be after the credits roll. It also teaches you Magnet Rise, which is arguably the best building tool in the game. So don’t rush for Magnemite early. It’ll come.
My recommendation? Get Pawmi or Pichu early since their habitats are simple to build. Then aim to have at least one Generate Pokemon in every area so you’re never running back and forth just to power something up temporarily.
Understanding Power Units
Okay, before we talk about generators, you need to understand what “power” actually means in this game, because it’s not obvious.
Every generator produces a certain number of power units. Every device that needs electricity consumes power units. Most devices like streetlamps, vending machines, and appliances cost 1 unit each. A couple of decorative items like String Lights and Surface Lights cost 0 units, meaning they light up for free as long as they’re connected to a powered circuit.
The math is simple. If your generator produces 20 power and you have 15 devices connected, you’re fine with 5 units to spare. But if you connect 25 devices to that same generator? Everything shorts out. Not just the extras. Everything on that circuit loses power. So always build with some headroom.
All Power Generators Compared
Here’s what each generator gives you.
| Generator | Power Output | Fuel Needed? | Notes |
|---|---|---|---|
| Mini Generator | 5 units | No (automatic) | Small, place anywhere. Good for powering a couple of lights in an outpost |
| Windmill | 10 units (standard) / 20 units (high altitude) | No (automatic) | Elevation matters a lot here. Place them as high as you can for triple the output |
| Waterwheel | 20 units | No (automatic, needs flowing water) | Must be placed in flowing water, not still ponds. Look for visible water movement or place near waterfalls |
| Furnace | 30 units | Yes (wood or coal) | Highest base output but needs periodic refueling. Best paired with a Charging Station |
The Windmill is the one most people underestimate. At ground level, 10 power isn’t much. But place it on elevated terrain where you can see wind particles in the air, and it jumps to 20 power. If you’re looking for efficiency, build a raised platform specifically for windmills.
You can buy building kits for all of these from the PC Shop. You can also find some pre-built in the islands, especially at Bleak Beach. If you want to move or remove one later, grab a relocation kit or demolition kit from the PC Shop. You’ll need a Pokemon with the Bulldoze specialty and one additional Pokemon in the area to use those kits.
Utility Poles: How to Connect Everything

Generators don’t magically power things nearby. You need Utility Poles to physically connect a generator to the devices you want powered. This tripped me up early on and I know it trips up a lot of players too.
Where to get the recipe: Head to the southwestern island of Bleak Beach. There’s a Poke Ball near a furnace that contains the Utility Pole crafting recipe. A stack of five poles costs 2 Iron Ore and 2 Stone.
Placement rules:
- Utility Poles transmit power up to 10 blocks to a device
- Between two poles (or two transmitters), the range extends to 15 blocks
- Poles are 1x1x3 in size, so they take up vertical space
- Place poles and devices as close together as possible. One block apart is ideal
- If the preview line doesn’t appear between a pole and a device, something is blocking it or the distance is too far
Pro tip: You can put utility poles underground. Dig tunnels and run your power grid beneath the surface to keep your town looking clean. It takes more effort, but the aesthetic payoff is huge.
Utility poles do not consume power. They’re pure connectors. So don’t worry about running a long chain of them. Your total generator output is your budget, and only the end devices eat into it.
What Does Electricity Power?
Lighting. Streetlamps, desk lights, chandeliers, gaming lights, spotlights, and more. Powered lights are also needed to make habitats “Bright,” which certain Pokemon require. If you’re trying to attract Magnemite’s evolution line or Electivire, you’ll need bright habitats.
Vending Machines. Once powered, each vending machine gives you one random drink per day. These drinks let Ditto spit out water or lava using the Suck ability, which is essential for creating water features and activating waterwheels. They also work as cooking ingredients and Mosslax offerings. Free daily resources just for having power running to them.
Powered Habitats. Some habitats in the Habitat Dex have a power icon next to one of the required items. That item needs electricity before the habitat counts as complete. The Vending Machine Set habitat is a good example. No power, no Pokemon spawning from it.
Peakychu’s Illuminate Specialty. This is a big one. Once you build up enough power at a Charging Station and bring Peakychu to it and light up an entire town. This makes Pokemon in the area more active during nighttime. You need 5 pips on the charging station (each pip is about 8 units, so roughly 40 total stored) for this to work.
Appliances and Machines. Cash registers, computers, arcade machines, TVs, washing machines, fans, and more. Some of these are needed for specific habitats. Others are just for decoration and comfort.
Wireless Power Transmitters
Okay, so if you’re sick of utility poles cluttering up your town, the Wireless Power Transmitter is what you’ve been waiting for. This is a late-game unlock, so don’t expect it early.
How to unlock it: You need to befriend Porygon in Sparkling Skylands. To make Porygon’s habitat, you need items found specifically in that area, so you won’t encounter this until you’ve progressed pretty far. Once you help Porygon with its request, you unlock the Wireless Power Transmitter and Wireless Switch recipes.
Crafting cost: Just 1 Pokemetal for a transmitter and 1 Pokemetal for a switch. Very cheap if you’ve been smelting Pokemetal Fragments at a furnace.
How it works:
- Wireless Power Transmitters are tiny: 1x1x1 blocks compared to utility poles at 1x1x3
- They have the same range as poles: 10 blocks to devices, 15 blocks between transmitters
- The key difference: electricity can pass through objects with wireless transmitters. Utility poles can’t do this
- You can bury them underground even easier than poles since they’re smaller
- The Wireless Switch lets you toggle power on and off from a distance. Place it near a transmitter and you control everything connected to it
If you’re in the post-game and care about how your island looks, replacing your utility pole grid with wireless transmitters is absolutely worth the time.
How Much Power Do You Actually Need in Each Island
This is the question everyone asks and nobody else seems to answer clearly. Here’s a rough breakdown by area.
Bleak Beach: This is where electricity starts. The “Brighten Things Up” quest requires you to reach 100 brightness points, and later you need to power the Charging Station for Peakychu (about 40 stored units). Between streetlamps, the lighthouse, and vending machines, I’d aim for at least 40-50 power in this area. Two high-altitude windmills or one furnace plus a windmill will cover you comfortably. Basically, the pre-built generators in Bleak Beach is enough to power nearly anything you want.
Withered Wasteland: The big quest here is powering the strange structure on the beach, which needs 50 power by itself. There are also two vending machines in the northern area you’ll want running. Budget at least 60 power here. Five standard windmills or two waterwheels plus a windmill will do it.
Rocky Ridges / Sparkling Skylands: These areas have fewer mandatory power requirements, but you’ll still want electricity for habitats, vending machines, and lighting. I’d recommend 20-30 power in each as a baseline, then scale up as you add more devices.
Palette Town: Power needs depend on what you’re building. Since this is the creative endgame area, plan for at least 30-50 power depending on how ambitious your layout is.
General rule of thumb: Count your devices, add 20-30% buffer, and build generators to match. It’s always better to have more power than you need. Expanding later is way easier when you already have the infrastructure.
Common Mistakes to Avoid
- Relying only on Generate Pokemon long-term. They’re great for testing and early-game. For anything you want permanently powered, build generators.
- Ignoring elevation for windmills. A windmill at ground level gives 10 power. The same windmill at high altitude gives 20. That’s a x2 difference for zero extra cost. Always build high.
- Placing waterwheels in still water. Look for visible water flow animations. If the water isn’t moving, the waterwheel won’t generate meaningful power.
- Not building power infrastructure in every area. You’ll eventually need electricity in all regions. Getting at least a basic setup going early saves you from backtracking later.
That covers everything I know about electricity in Pokemon Pokopia. If you found this guide helpful, check out our cooking guide
-

Slay the Spire 2 Ancients: All 8 and How to Unlock Them
-

Slay the Spire 2 Regent Guide: Best Builds (Early Access)
-

Slay the Spire 2 Necrobinder Guide: Best Doom and Soul Builds for Early Access
-

Slay the Spire 2 Review: Better in Every Way (April 2026)
-

Pokémon HOME 4.0.0 Is Out Now: Patch Notes and What Changed
-

Pokemon Pokopia All Habitats: Complete Habitat Dex List
-
Pokémon Pokopia Cooking Guide: All 24 Recipes
-
How to Use GameShare in Pokémon Pokopia on Switch 1
-

Helldivers 2 Major Order Update: How the Galactic War Is Changing
-
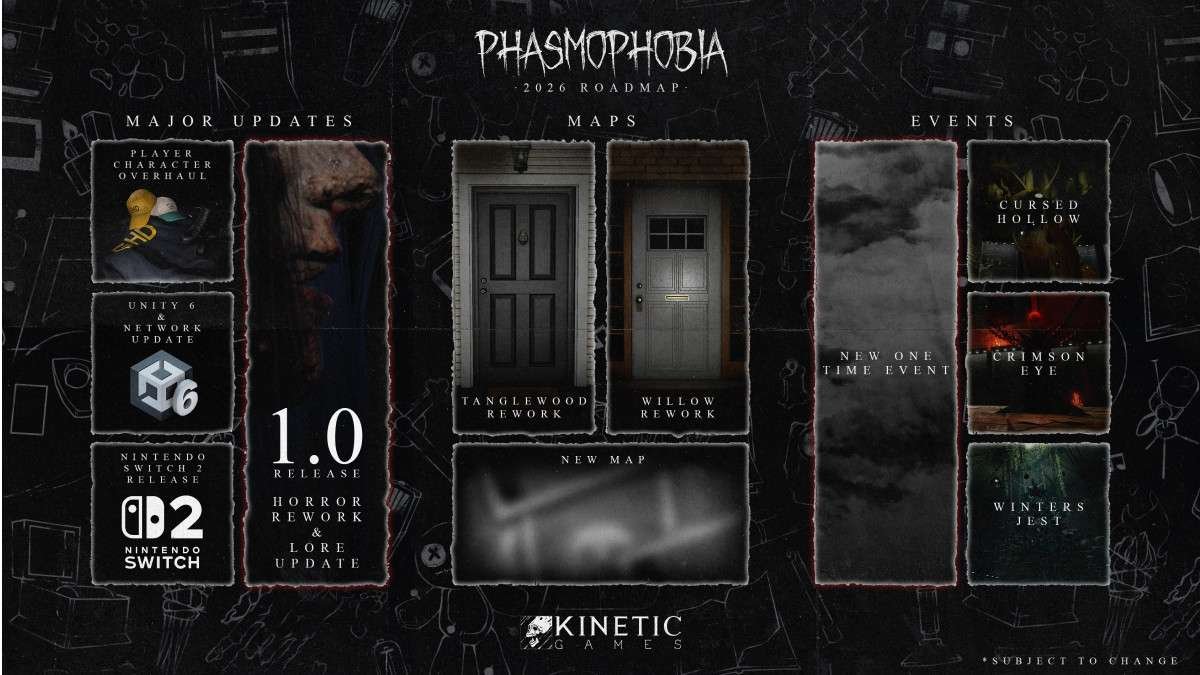
Phasmophobia 2026 Roadmap: New Maps, Ghosts, Events, and System Changes
© Copyright
All game media, screenshots, and assets featured on this page are the property of The Pokémon Company and Nintendo.
The written content on this site was created personally by the Gamestier editorial team.
We do not claim ownership of any third-party media. Reproduction or reposting of our original written content without permission is not allowed.
The copyrights of all game-related media used in our content belong to the original publishers and developers of the game.